Step-by-Step Guide: Conducting a DIY Roof Inspection


Understanding the Importance of Roof Inspections
Regular roof inspections are vital for maintaining the integrity of your home. By conducting a DIY roof inspection, you can identify potential issues before they escalate into costly repairs. Whether you're preparing for seasonal changes or just want peace of mind, inspecting your roof can help you detect leaks, damaged shingles, and other problems early on.
Gathering the Necessary Tools and Equipment
Before starting your roof inspection, gather the right tools to ensure a thorough evaluation. You will need a sturdy ladder, binoculars, a flashlight, a notepad for taking notes, and a camera or smartphone to document any damage. Wearing non-slip shoes and gloves is also recommended for safety.
Having these tools on hand will make your inspection more efficient and effective. Additionally, check the weather forecast to ensure you conduct the inspection on a clear, dry day to avoid any unnecessary risks.
Inspecting the Roof from the Ground
Begin your inspection from the ground using binoculars to get a good view of the roof. Look for signs of missing or damaged shingles, sagging areas, and debris buildup. Pay close attention to the flashing around chimneys and vents, as these areas are prone to leaks.
While inspecting from the ground, also observe the gutters for signs of granule loss from asphalt shingles. Granules protect shingles from the sun's UV rays, and their loss could indicate that the shingles are nearing the end of their lifespan.
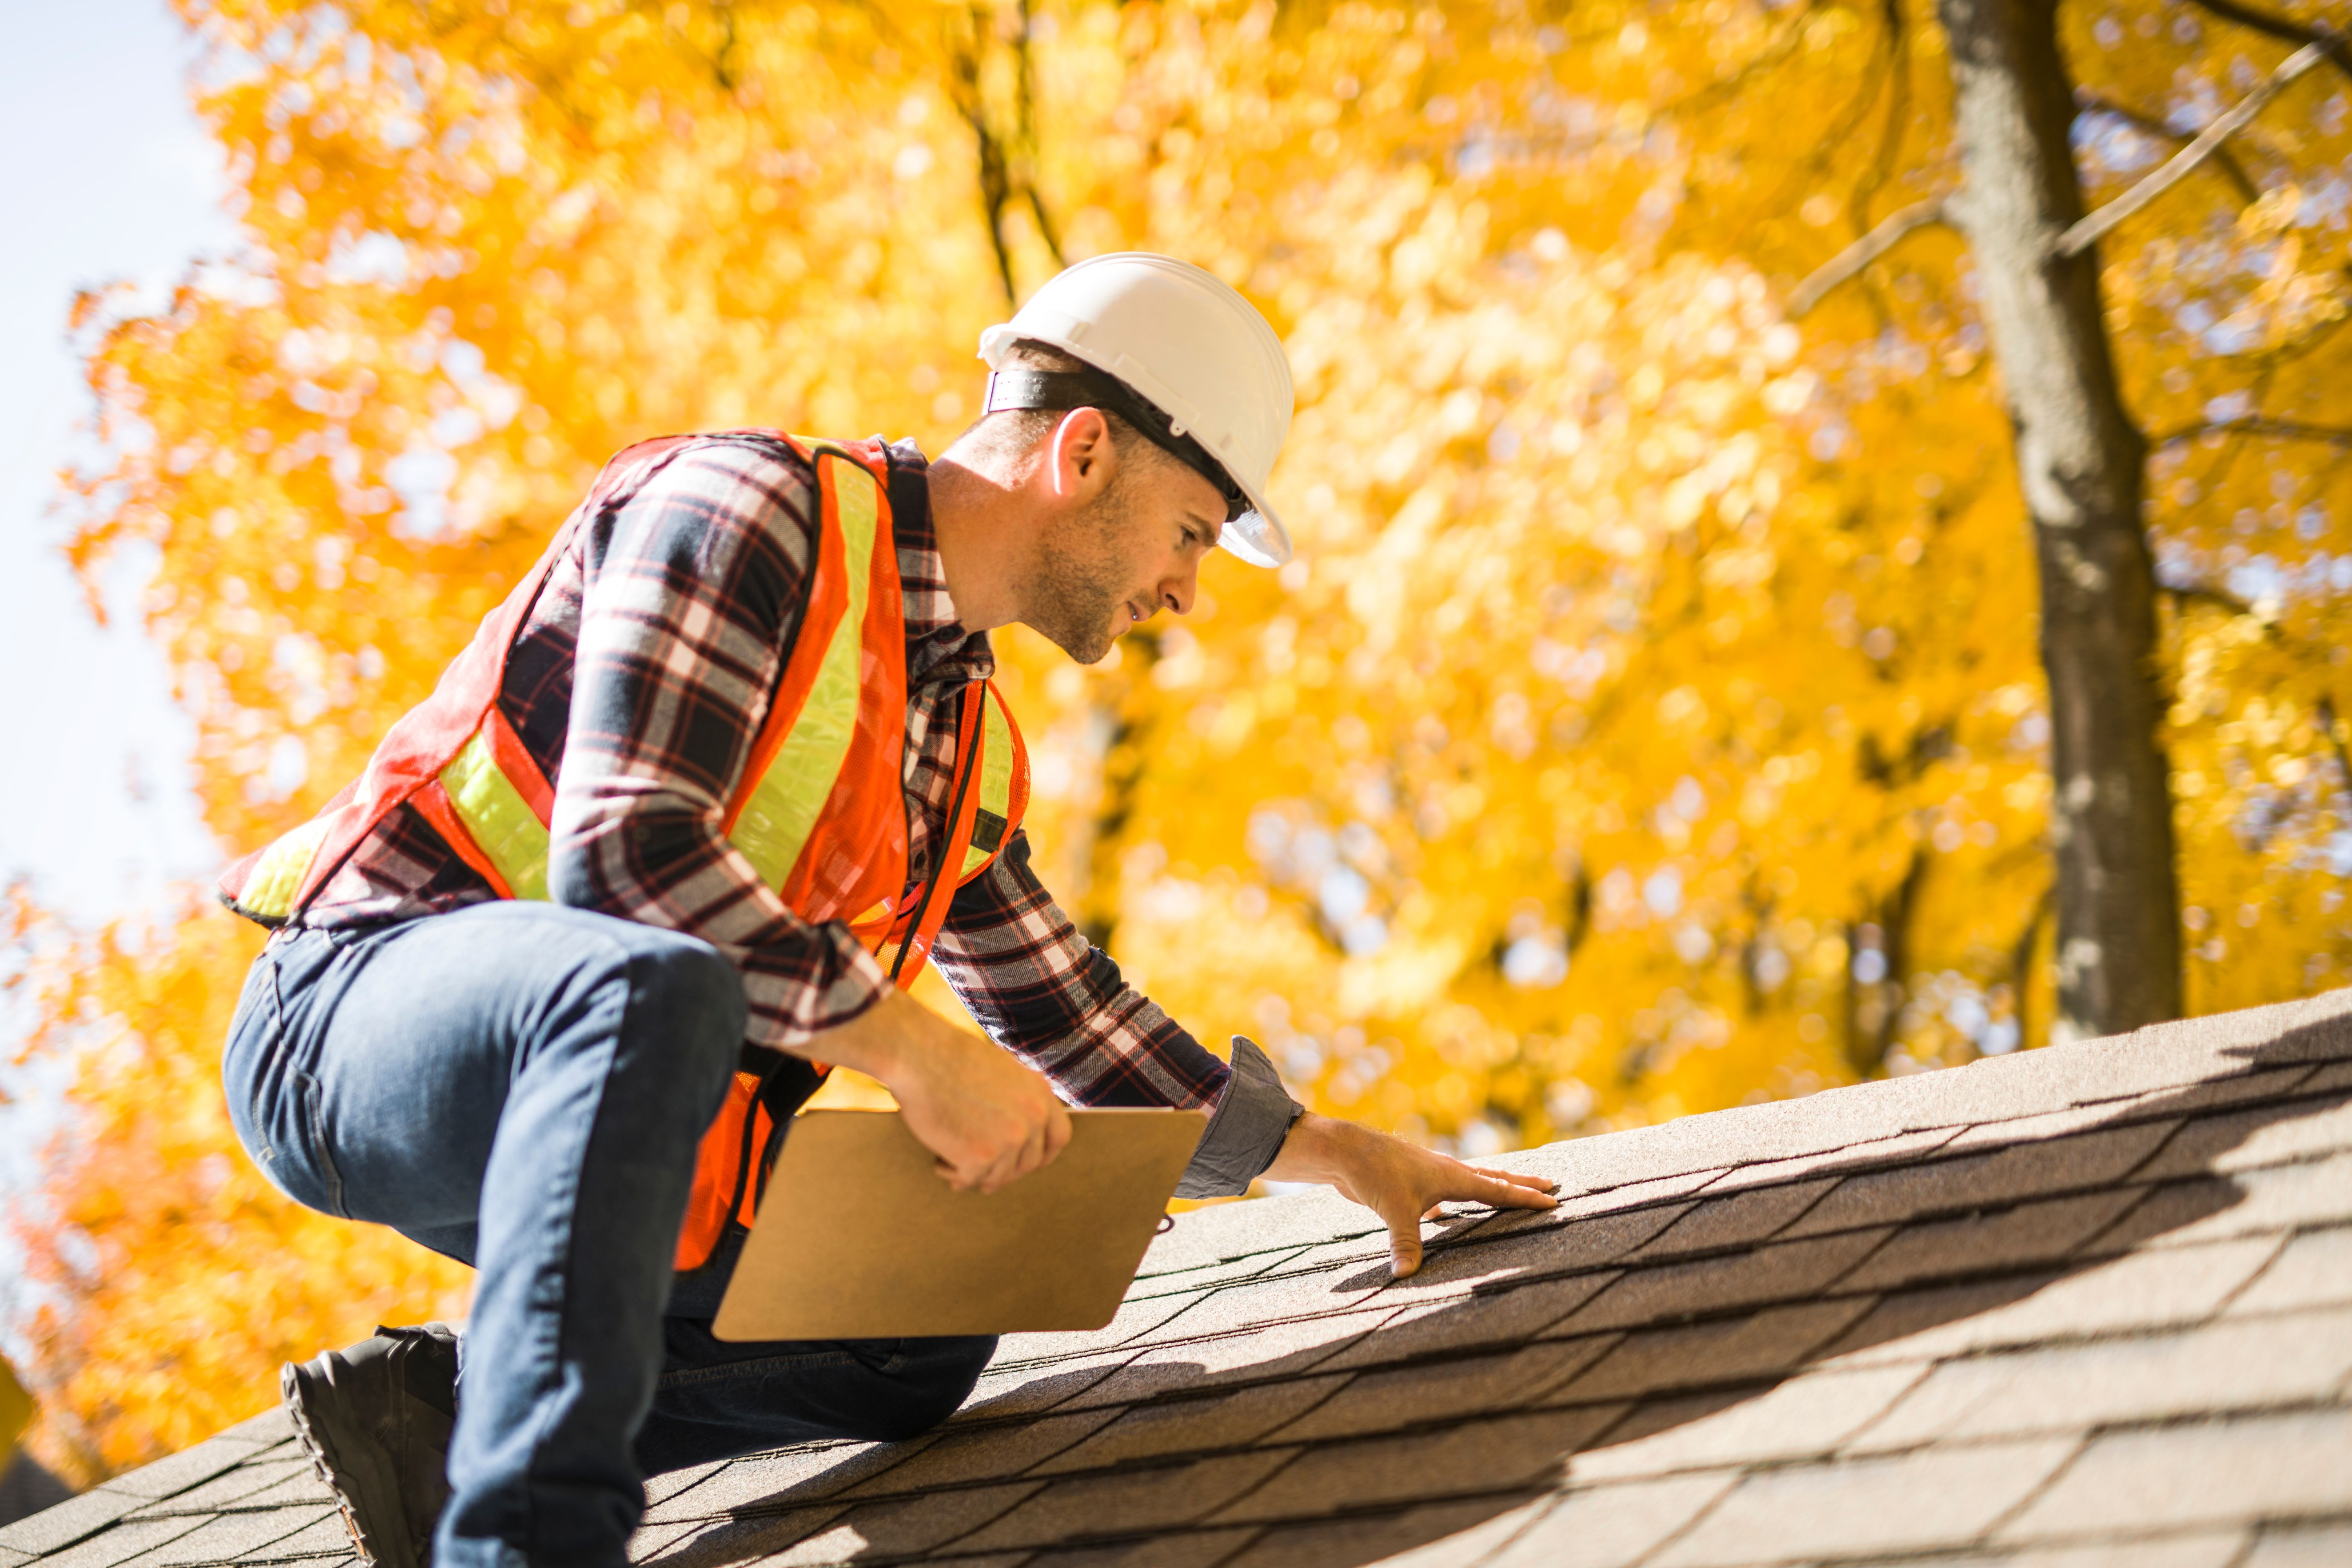
Climbing onto the Roof
Once you've assessed the situation from the ground, it's time to climb onto the roof if it's safe to do so. Use a sturdy ladder and ensure it is placed on a level surface. When on the roof, walk carefully to avoid damaging shingles or other materials.
Inspect the roof surface for any visible damage such as cracked, curled, or blistered shingles. Check for signs of mold, moss, or algae growth, which can deteriorate roofing materials over time. Pay special attention to valleys and areas where two roofs intersect, as these are common spots for leaks.

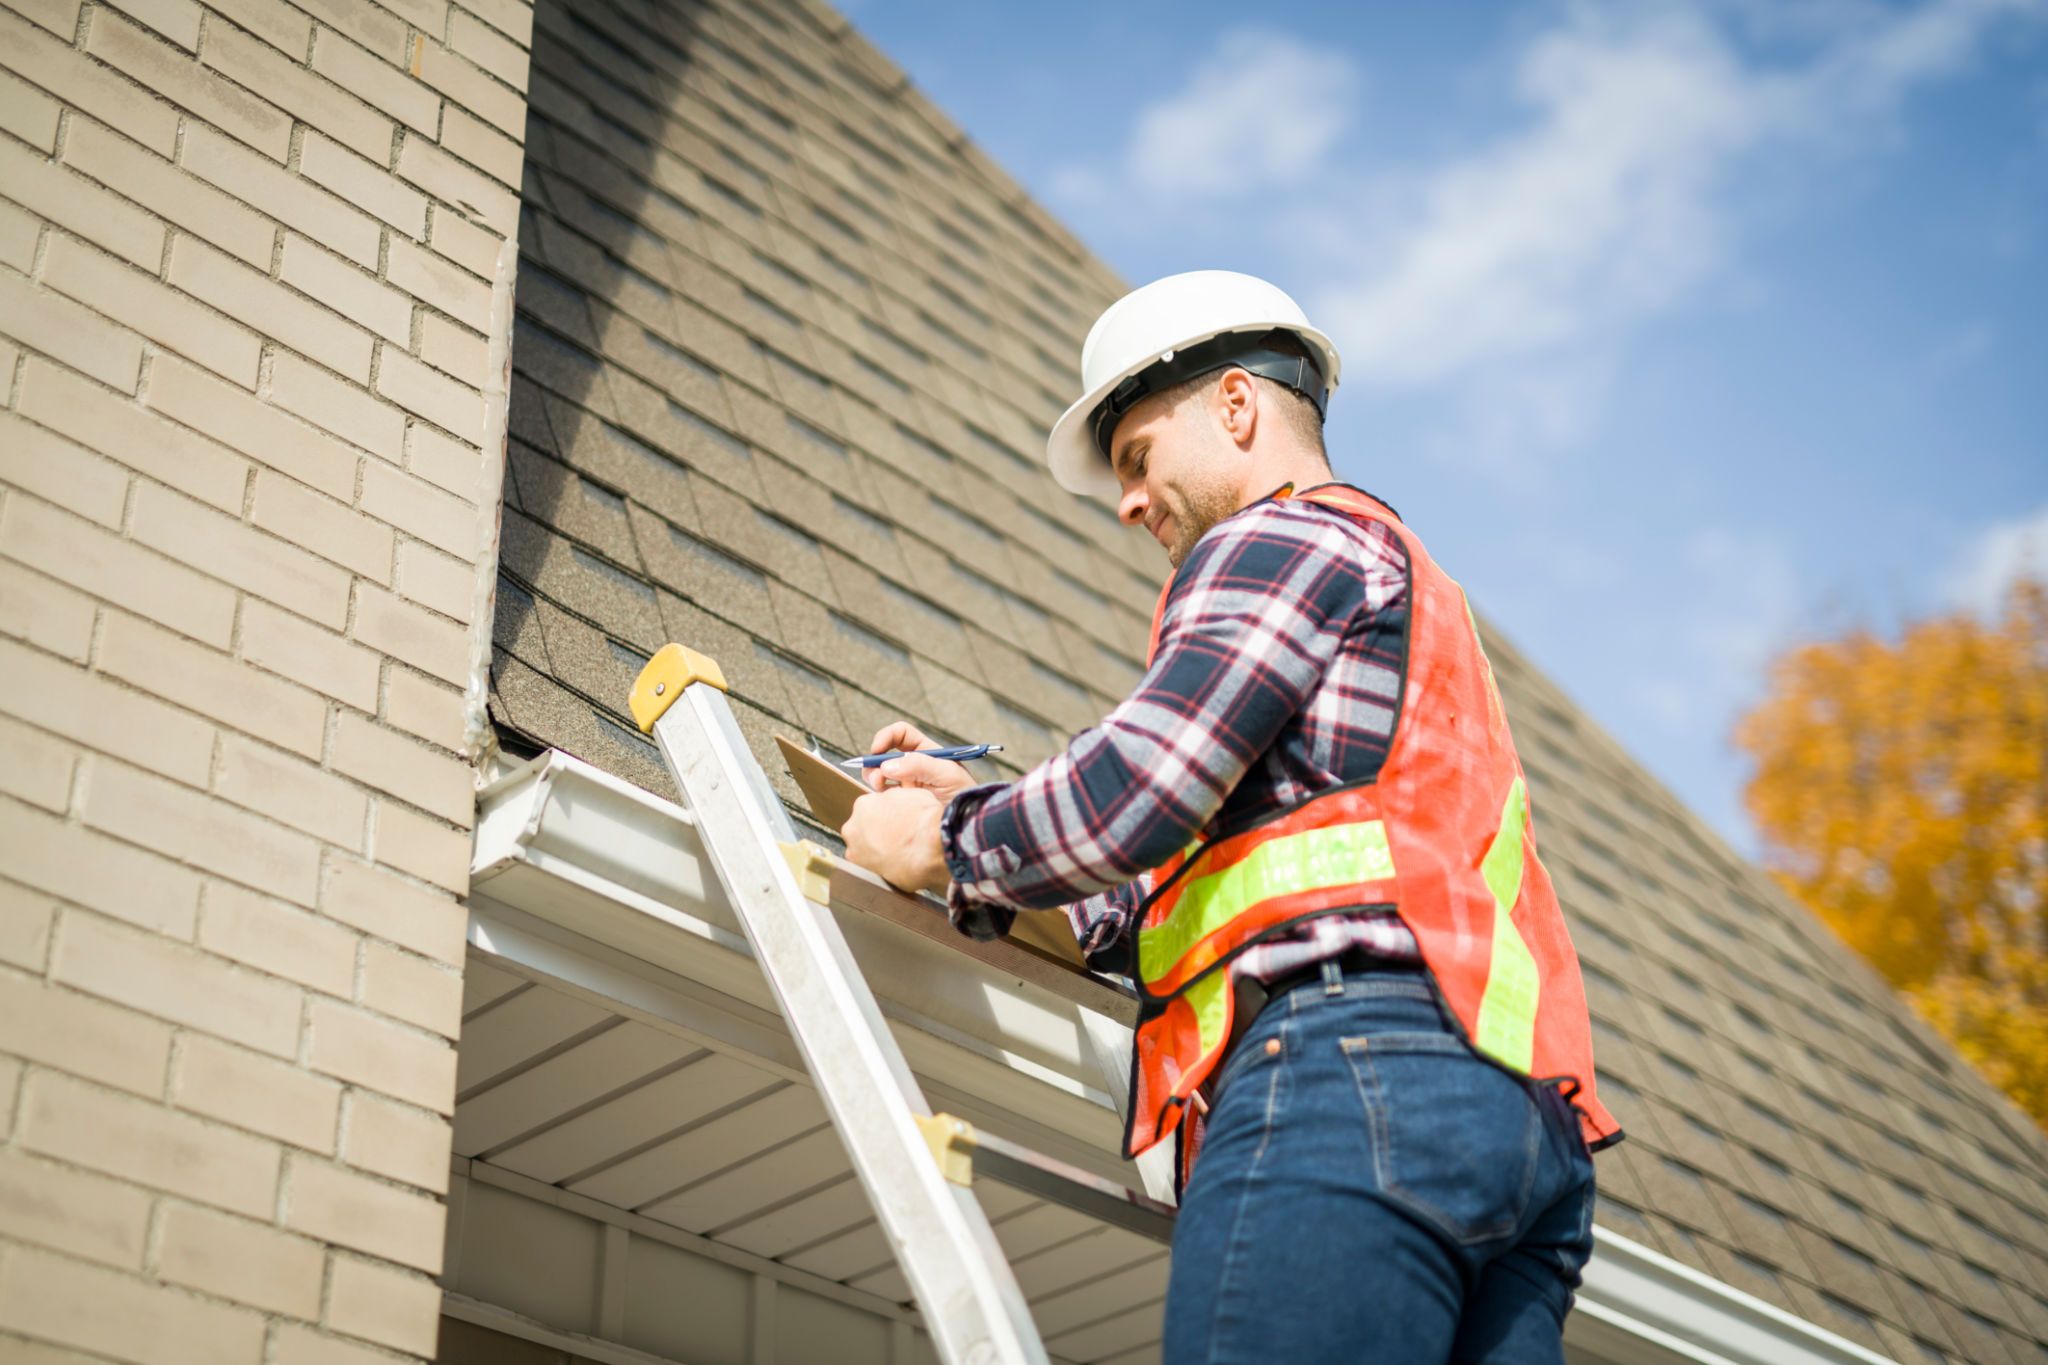
Checking Roof Components
Don't forget to examine other crucial components of your roof. Inspect vents and chimneys for cracks or damaged seals. Ensure that all flashing is intact and secure, as faulty flashing can lead to water infiltration.
If your roof has skylights, examine them for cracks or signs of leaks. Proper inspection of these components will help you maintain a durable and long-lasting roof.
Reviewing Your Findings
After completing your inspection, review your notes and photos to determine if any repairs are necessary. Look for patterns or recurring issues that may need professional attention. Smaller issues can often be addressed with DIY fixes, but larger problems may require the expertise of a roofing professional.
If you're unsure about any findings or feel uncomfortable making repairs yourself, it's advisable to contact a professional roofer who can provide a more detailed assessment and repair estimate.
Maintaining Your Roof Regularly
Routine maintenance is key to extending the life of your roof. Plan to conduct a DIY inspection at least twice a year—once in spring and once in fall—and after significant weather events. Regular inspections will help you catch minor issues before they become major headaches.
By proactively maintaining your roof, you'll protect your home from potential water damage and preserve its value for years to come.